In a Timber Wall Build-Up, Layer Order Decides Performance

A wall specification can arrive as one line: an overall thickness and a U-value. Behind that line sits a timber wall build-up of six layers. When a wall starts misbehaving after a few winters, look at two things first: a layer in the wrong position, or a gap in a layer that was meant to be continuous.
The wall drawn here is a diffusion-open solid timber wall, read from the room to the weather. Thicknesses, products and the exact membrane position come from each project's own calculations and climate. If you are comparing specifications for solid timber houses, ask about these layers by name. A supplier who cannot tell you which one is the airtight layer has not finished the design.
The interior finish, and where the cables run
The interior finish is the surface you live with, and in some build-ups it also hides the electrics. One option is to leave the inside face of the timber core exposed and sanded. The other is a lining of timber boards, clay or gypsum on battens, with a service void behind it.
That void lets cables, sockets and pipes run without cutting into the structure. With the airtight line on the outside of the core, a socket on the inside face cannot puncture it. Make an inner membrane the airtight layer instead, and every service penetration through it has to be sealed, one at a time.
Thermally, the finish adds very little. What it gives you is surface, light, and a wall you can change later without taking a saw to the structure.
The massive timber core carries everything outside it
The core carries the building: vertical loads, wind bracing, and the fixings for every layer further out. In MHM it is built from layers of solid boards joined mechanically. In CLT the layers are glued crosswise into a panel.
The two systems behave differently with air. MHM is generally not treated as airtight on its own, because of the sheer number of board joints. A CLT panel field can be fairly tight. In both, air finds the joints between panels and at the corners, and that is why neither core should be relied on as the airtight layer without a sealed membrane or tape.
Solid softwood insulates far better than brick or concrete of the same thickness, though much less per centimetre than insulation proper. It also buffers indoor humidity. As for where a solid timber house loses heat in winter, look at the junctions before you worry about the panel field.
The airtight line goes on the warm side
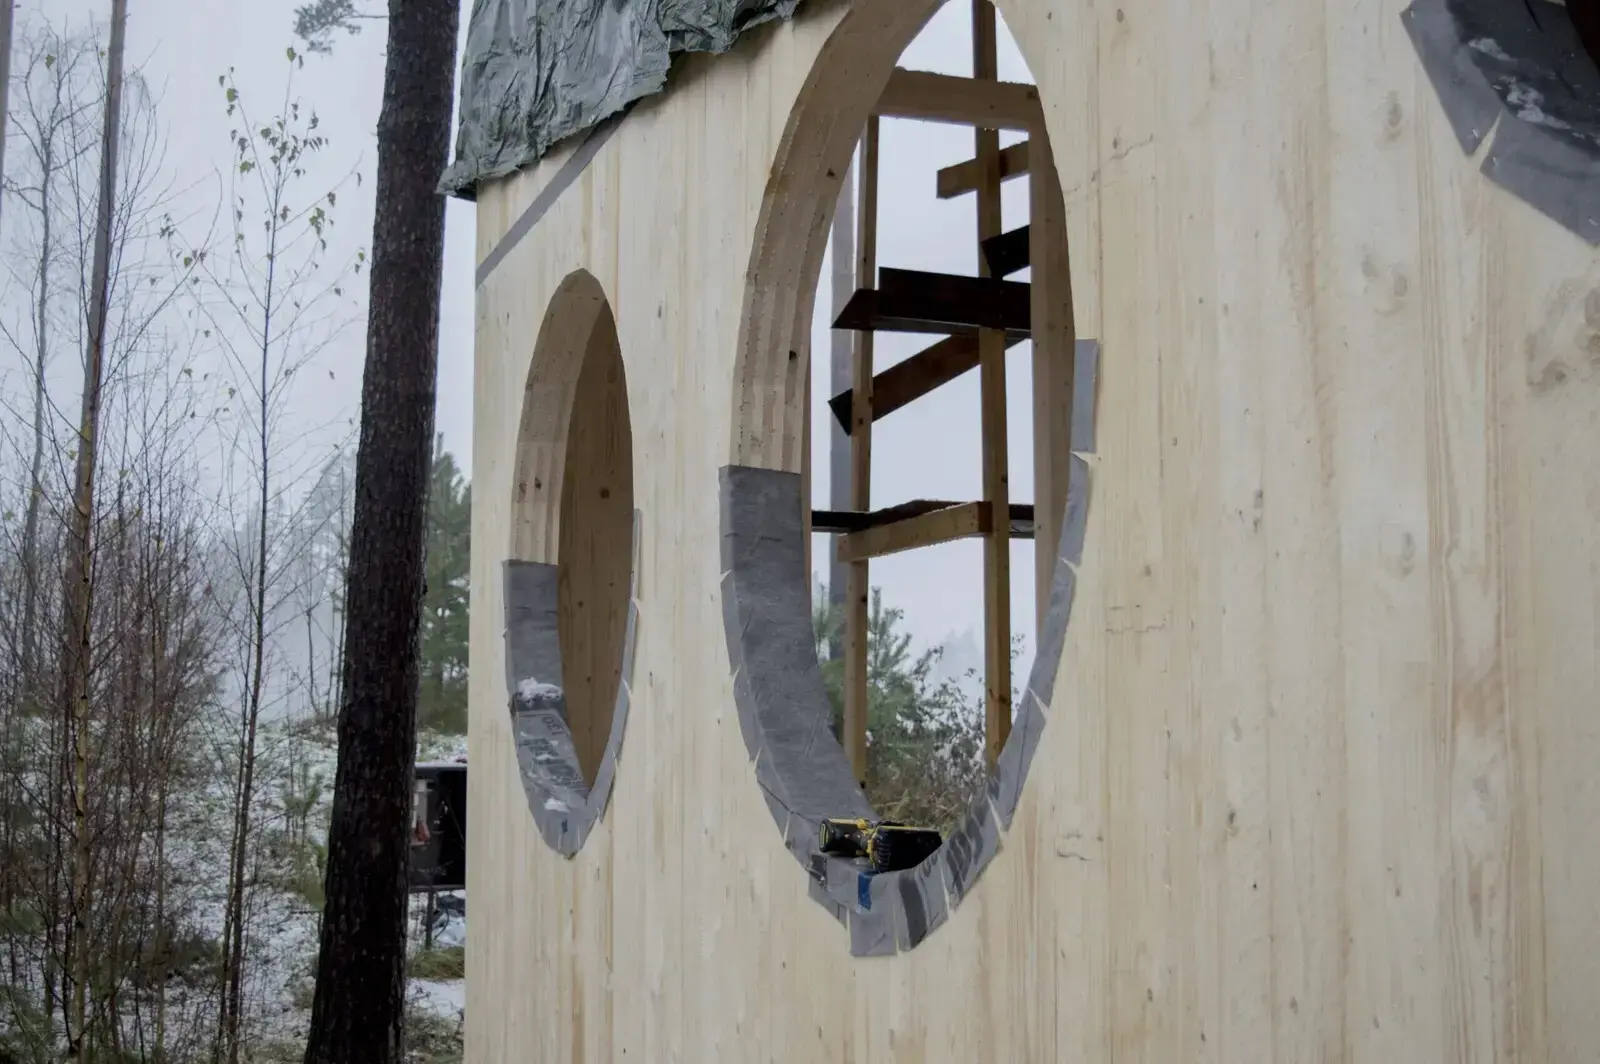
In this diffusion-open wall, the airtightness and vapour control line sits on the warm side of the insulation, which here means directly on the outer face of the timber core. That position suits a cold-climate assembly like this one. It is not a rule to copy; it has to be checked for the whole build-up and the local climate.
The layer has two jobs. It keeps warm indoor air from carrying moisture out to colder layers, where it could condense. It also moderates vapour diffusion in winter while still letting the wall give moisture back when conditions reverse in summer. Membranes with variable or moderate vapour resistance are chosen for that balance.
Junctions are where the line breaks
The line only works if it is continuous. It has to carry on:
- at the wall base;
- around window and door reveals;
- into the floor and roof connections;
- around every pipe, cable or duct that crosses it.
A diffusion-open material does not make air leakage harmless. Air moving through a gap carries far more moisture than diffusion through an intact layer, and the moisture design of the wall assumes the layer is intact. A torn lap puts the wall outside what was calculated. How much moisture it can then shed is a separate question, the subject of the wall's drying reserve.
In cold climates the layers are arranged to become more vapour-open towards the outside, which gives moisture that does get in a route out. Where vapour drive runs inward for much of the year, as in hot and humid regions, that logic has to be rethought, one more reason not to carry a layer order across borders unchecked.
Wood-fibre insulation does most of the thermal work
Wood-fibre insulation supplies most of the wall's thermal resistance. Its thermal conductivity is commonly declared in the region of 0.04 W/mK. The calculation should use the figure on the actual product's declaration, not a round number from a brochure.
The material is vapour-open and hygroscopic: it takes up and releases moisture within normal limits. Laid as a continuous layer over the core, it is not broken up by studs the way insulation in a frame wall is. Screws, brackets and battens passing through it are still thermal bridges, and the calculation corrects for them.
The outer layer can be a rigid, water-repellent wood-fibre board acting as wind barrier and temporary weather protection. Other build-ups use softer batts with a breather membrane over them. Both work. The question to ask is how long either can sit exposed to weather before the cladding goes on.
How the U-value adds up across the layers
A U-value comes from the whole build-up, never from the insulation alone. Each layer's thermal resistance is its thickness divided by its conductivity. Add up the resistances from the inner surface out to the ventilated gap, add the standard surface resistances, and the U-value is one divided by that total. The method for building components is set out in EN ISO 6946.
Because the resistances add, the timber core counts as well as the insulation. The arithmetic also has diminishing returns: a few extra centimetres of insulation move the U-value less on an already thick wall than on a thin one.
That figure describes the plain wall field. Junctions at floors, corners and windows are assessed separately, as linear thermal bridges.
The ventilated gap, where moisture leaves
The ventilated gap is an air space, held open by battens, between the outer face of the insulation and the cladding. Air comes in at the bottom and leaves at the top, with insect mesh over both openings.
It drains rain that gets past the cladding, carries off moisture leaving the wall, and lets the cladding dry from behind. This is where the outward drying route ends. An offcut wedged in the gap, or insulation bulging into it, narrows that route.
In the U-value calculation, a well-ventilated cavity and everything outside it are disregarded. Thicker cladding does nothing for the calculated figure, whatever it does for the look of the house.
Cladding takes the weather
The cladding is the rain screen. It takes driving rain, sun and knocks so the layers behind it do not have to. Plain timber boards, painted boards and board panels all work, as long as the detailing suits the material. That detailing comes down to four things:
- clearance above the ground;
- protection for the end grain;
- flashings over openings;
- fixings that suit the timber species.
Maintenance depends on the species, the coating and how exposed each face is. Because the gap separates it from the wall, cladding can be re-coated or replaced without touching the layers inside. You can see how different finishes look on completed buildings in our projects.
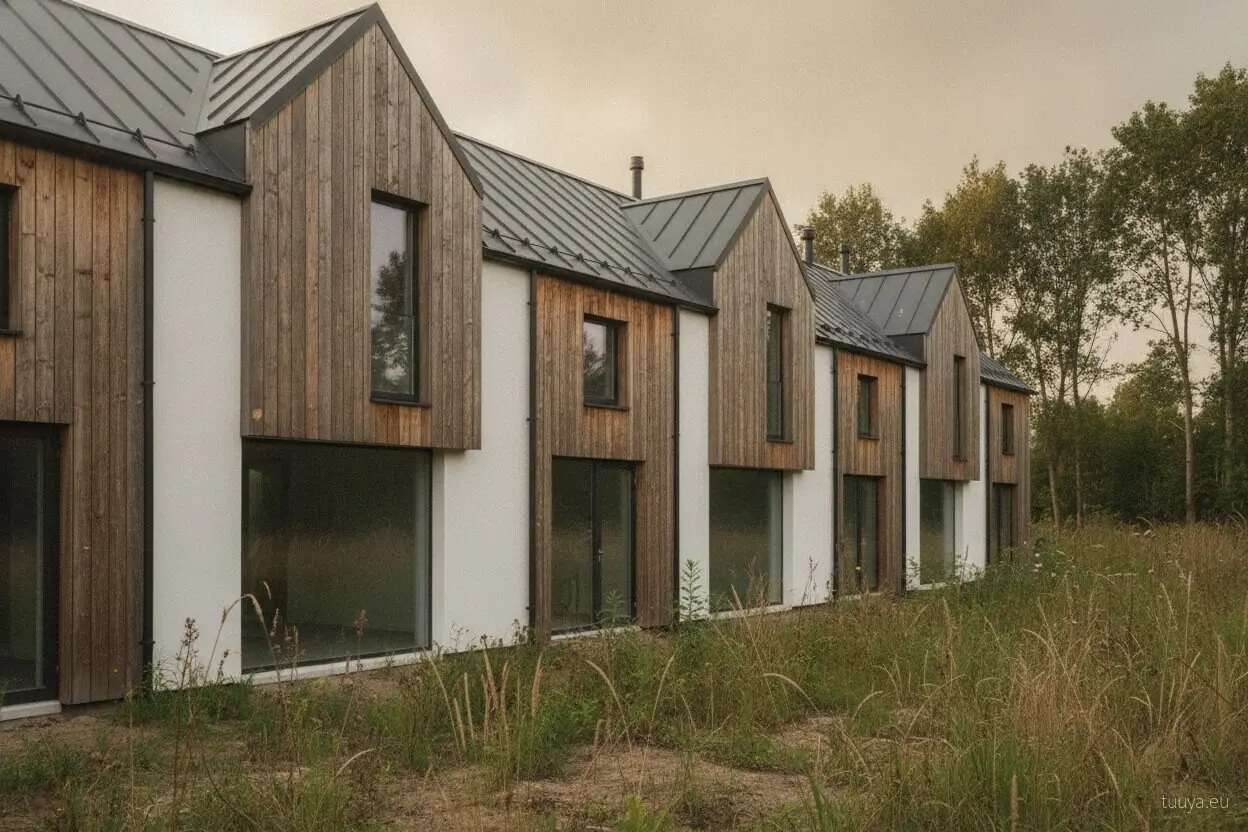
Checking the timber wall build-up on site, before it is covered
- The airtightness membrane or tape sits on the warm side of the insulation, with every lap bonded, before any insulation goes over it.
- The line carries on at the wall base, the window and door reveals and the roof junction, with no unsealed gaps.
- Every pipe, cable and duct crossing the line has a fitted collar or tape.
- Insulation boards are butted tight, with fixings at the spacing shown on the drawing.
- The outer board or breather membrane is intact and has not been left in the rain longer than the product allows.
- The ventilated gap is open top and bottom, meshed, and clear of offcuts and insulation.
- Ask for the U-value calculation listing every layer with its thickness and conductivity, then check those layers against what arrives on site.