A-Frame Kit Assembly: What Happens On Site, Step by Step
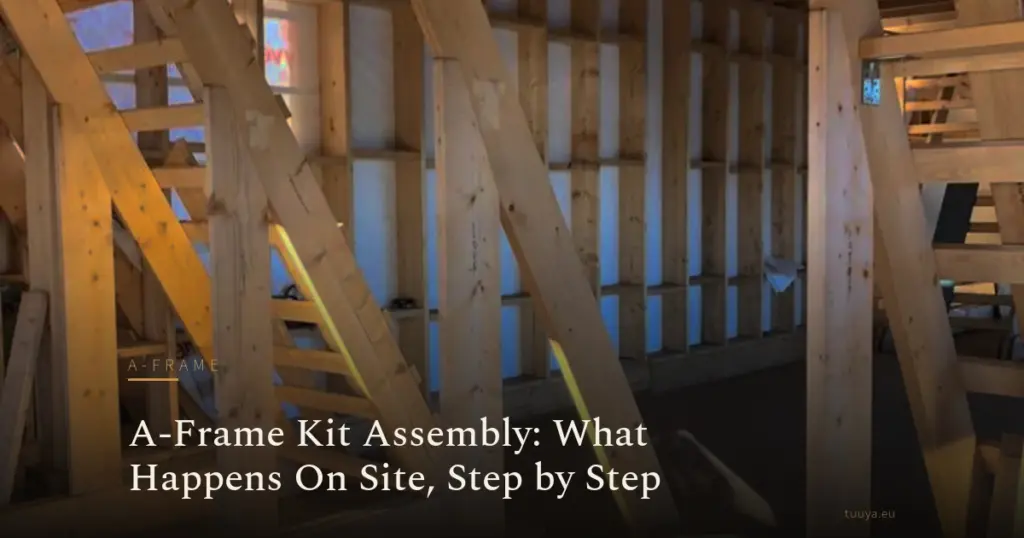
A-frame kit assembly is the on-site sequence that turns a set of factory-cut components into a weathertight shell on a prepared foundation. This page is a reference for the specifier or self-builder coordinating that work. It covers the site sequence only: what must be ready, what arrives, and the order the structure goes up. Day counts, crew sizes and machine specifications change with span, access and supplier scope, so what follows deals in sequence and decisions rather than in numbers that would not survive contact with your site.
What has to be settled before the truck arrives
- Factory-cut components arrive as a kit and are erected on a foundation that somebody else has already built, surveyed and accepted.
- Timber structures are designed to Eurocode 5 (EN 1995): the frame, its connections and its bracing. Moisture and ventilation come from the detailing of the assembly rather than from the frame design, and they are specified separately.
- Three things stop a lift on the day: a foundation outside tolerance, access the machine cannot use, and weather.
- The split between prefabricated and site-finished work is set by the supply contract, and it has to be confirmed before you order, not after the kit is on the ground.
Before signing anything, get two documents: the supplier's written scope, and the foundation setting-out drawing. You can see how the method reads in built form on the projects portfolio, and the system is covered in more depth on the A-frame house kits page.
Foundation readiness for A-frame assembly
Nothing lifts until the foundation is cured, level, and set out to the supplier's tolerance. The frames bear on defined points or a continuous sill. Deviations that look minor at foundation level compound up a steep pitch, and they are painful to chase once the first frames are standing. Confirm the acceptable tolerance in millimetres, in writing, and have it surveyed before the truck is booked.
Anchor positions, damp-proofing, and any sole plate or ring beam belong to foundation readiness, not to kit erection. Where services rise through the floor, fix their positions before the deck closes over them. A dry, accessible foundation shortens every step that follows it.
Delivery day and site access
The kit arrives banded and labelled, and the first job is safe unloading close to the lift point. Long rafter members and any glulam ridge or floor components need clear vehicle access and firm ground under both the delivery truck and the lifting machine. Get the largest single component length and weight from the supplier in advance, then walk the access route against those figures rather than guessing.
Staging matters more than people expect. Components are usually needed in erection order, not the order they come off the truck. A flat, drained laydown area beside the foundation prevents double handling and keeps timber off wet ground.
Frame raising sequence
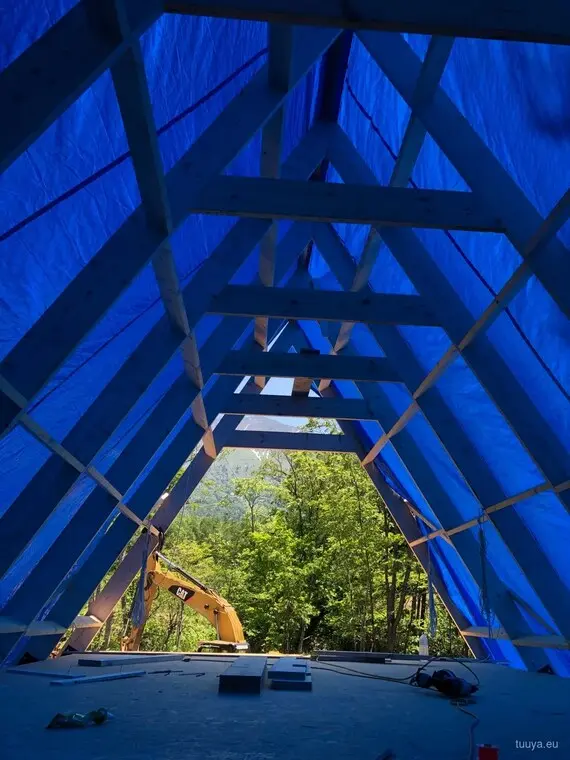
A common sequence starts at one gable and works along the length of the building, one A-frame pair at a time, though the order belongs to the erection drawing rather than to habit. Each pair is lifted, seated at its bearings, plumbed, then held on temporary props or braces until it is tied to the next. Expect the first frames to be the slowest. They set the line and the plumb that every frame after them inherits, so there is no shortcut worth taking there.
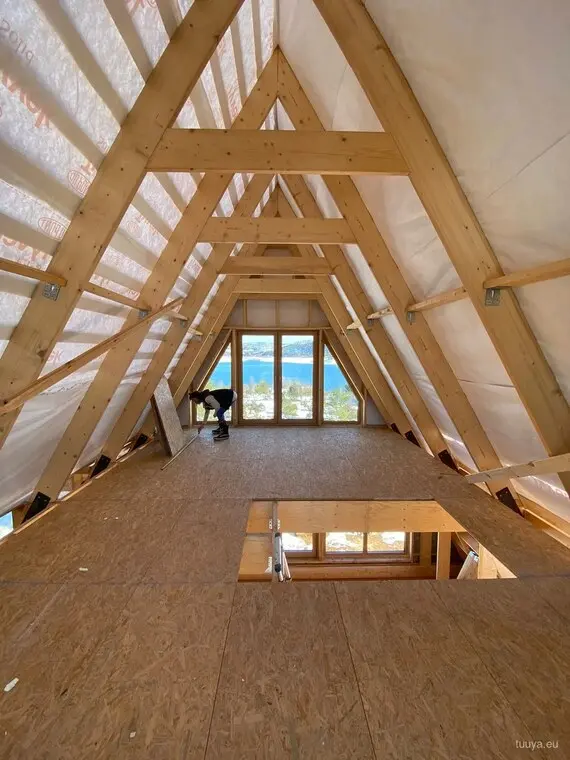
Purlins, ridge members, and any collar ties or mezzanine beams tie the frames together as the run advances. Only once several frames are connected does the structure carry itself well enough to strip temporary bracing in stages. The sequence comes from the design and should arrive as an erection drawing. It is not something to improvise on site.
Craneage and crew requirements
Frames and long members are usually placed with a crane or telehandler, because they are too heavy and too awkward to seat accurately by hand. The lifting method follows from component weight, reach over the foundation, and the ground bearing available to the machine. Ask the supplier what lifting class they have assumed, then confirm the site can actually take it.
The crew is a machine operator plus a ground team to guide, seat, and fix each piece. Working at height on a steep pitch drives edge protection, access platforms, and a planned method statement. Treat lifting and access as a site decision agreed with the supplier, not a fixed number lifted from a brochure.
Structural connections and bracing
Connections are what make an A-frame stand up, and they are designed joint by joint, not assumed from the shape of the letter. Ridge joints, base fixings, collar ties, and lateral bracing carry wind and asymmetric loads, and their detailing follows the structural design to Eurocode 5. Leave the temporary bracing in place until the permanent restraint is installed and checked.
Fastener types and tightening are specified by the designer for each joint. Swap a fixing or skip a brace and you have changed the load path, so follow the connection schedule exactly. If a joint on site does not match the drawing, stop and query it before you load it any further.
Reaching weathertight
Weathertight is the milestone where the roof and gables are closed against rain and wind, and it is the point most self-builders plan the whole schedule around. It usually lands once the frames, purlins, roof decking or panels, and the primary membrane are in place, with openings temporarily covered. Reaching it protects the timber and lets internal work carry on whatever the sky is doing.
The layering of the roof and wall build-up depends on climate and on the vapour resistance of the whole assembly, not on a single rule of thumb. In a cold-climate build-up the airtight and vapour-control layer usually sits toward the warm side, but that position has to be verified for the specific assembly and the local climate rather than applied blind. Confirm the full build-up before the envelope closes. Retrofitting a missed layer afterwards is expensive and disruptive.
For our own A-frame kits that stage is short. On a foundation that is ready and accepted, the weathertight shell with roof, windows and doors in place goes up in two to three weeks, and a completed house runs two to four months on site. Design and manufacture sit before that, not inside it.
Prefabricated versus site-finished scope
What arrives prefabricated and what is finished on site is the single biggest variable between suppliers. The table below shows a common split. It is illustrative, and it has to be read against your own contract, line by line.
| Commonly prefabricated | Commonly finished on site |
|---|---|
| Cut and drilled frame members | Foundation and base fixings |
| Ridge, purlins, connection hardware | Insulation infill and membranes |
| Panels or decking, where supplied | Internal linings and finishes |
| Gable framing and openings | Windows, doors, and glazing install |
| Erection and connection drawings | Services, wet rooms, second fix |
Confirm every row. A kit priced as "structure only" and one priced "to weathertight" describe very different amounts of work left in your hands.
Hold points for inspection and payment
These are the points where work should stop, be checked and be signed off before the next stage starts. Durations stay out of the table on purpose: they follow from span, access, crew and weather, and a date is a poor thing to pay against.
| Hold point | What has to be confirmed before work continues |
|---|---|
| Foundation accepted | Level and setting-out within tolerance |
| Kit delivered and staged | Components checked against packing list |
| First frames raised and plumbed | Line and plumb established |
| Frames connected | Structure self-supporting |
| Bracing and connections complete | Permanent restraint in place |
| Weathertight | Envelope closed to rain and wind |
| Internal fit-out | Insulation, services, and finishes proceed |
Each has a pass or fail condition, which coordinates a self-build far better than a calendar estimate that slips the first time it rains.